Solder Paste Printing Defects: Which Printer Features Help Prevent Them?
Not every solder paste printing defect is a machine fault. Here is how to separate stencil, paste and process causes from printer causes, and which features to specify and trial.
6 min read
Solder paste printing defects show up at the first station, then cost you yield after placement and reflow. Insufficient paste, bridging, smear, offset and poor release all look like printer problems. Some are. Many start in the stencil, the paste, the board support setup or the process window, and a new machine will not correct them on its own.
If you are comparing automatic printers, the useful question is not which model "prints perfectly." It is which printer features actually reduce the defects you see, and how you will prove that in a trial. This article maps common print defects to machine features. For a broader comparison of print area, cycle time and wet-print evidence, use our solder paste printer selection guide. If you are buying inspection with the printer, see buying a printer and SPI together.
Separate the cause before you change the machine
Treat every recurring print defect as one of four buckets: stencil, process, paste or machine.
Stencil issues include worn or poorly designed apertures, low transfer efficiency, damaged gaskets and a contaminated underside. Process issues include the wrong squeegee pressure or speed, a separation setting that peels paste out of the aperture, or a cleaning interval that leaves residue behind. Paste issues include temperature, viscosity, working life and poor preparation after storage. Machine issues are what the printer itself can hold stable: alignment, compensation, pressure control, board support, cleaning and separation.
If you skip this split, you will buy features you do not need, or miss the ones you do. A clogged aperture will still print short after you upgrade the alignment system. A bowed, poorly supported board will still smear paste after you tighten a catalog accuracy claim.
Common print defects and what usually causes them
Insufficient paste often comes from blocked or poorly releasing apertures, paste that has dried, or pressure that is too low to fill the opening. It can also come from a board that is not supported under the pads, so the stencil does not seal and paste never fully transfers.
Bridging and excess paste often come from too much pressure, a dirty stencil underside, or a gap between stencil and board. Smear or bleed usually points to the same gasket problem: the board lifts, bows or is held only at the edges.
Offset — the deposit sitting off the pad — can be a reference-mark or alignment issue, but it can also be the board moving during the stroke, or a table that does not correct a small shift. Poor release, where deposits look peaked, pulled or incomplete, often traces to separation speed and distance, aperture-wall condition or paste behavior rather than a single accuracy number.
None of these patterns has only one cause. That is why a print trial on your own stencil, paste and boards matters more than a catalog defect list.
Printer features that reduce common print defects
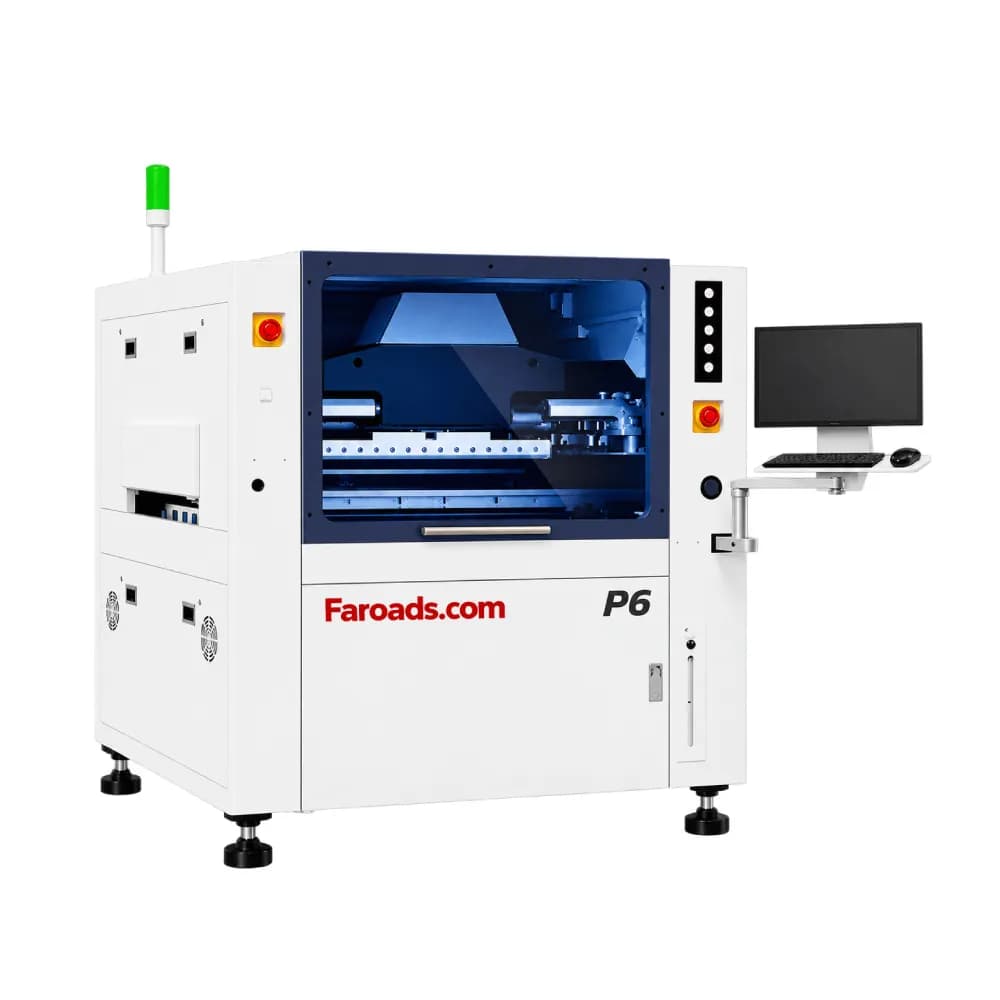
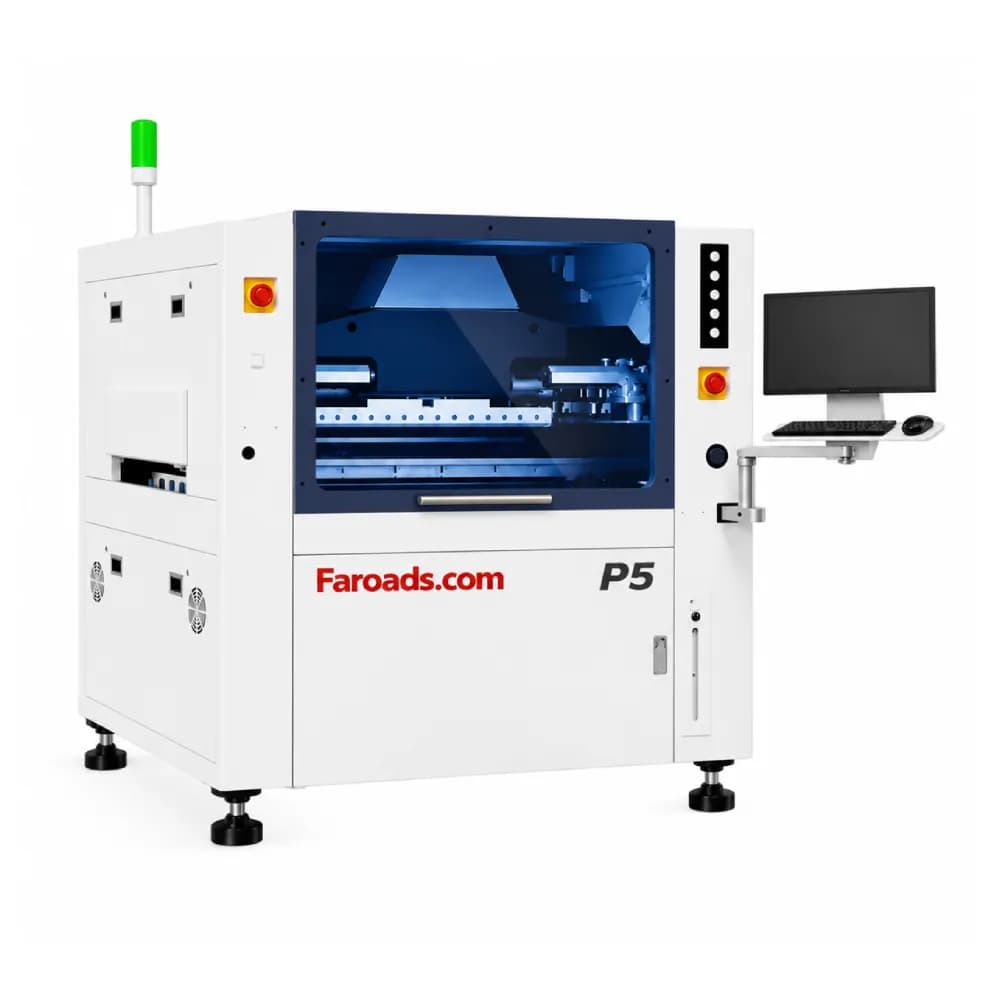
Once you know which defects are influenced by the machine, ask for the features that address them — and for evidence on your boards. FAROAD P5 and P6 pages, re-checked on 17 November 2026, list the capabilities below. Confirm the configured options in your quotation. We do not quote P5 accuracy or thickness figures here, because those two values are not consistent across the same product page.
Vision alignment and closed-loop compensation. An automatic visual printer should find the board and stencil references and correct position and angle before the stroke. The P6 and P5 pages describe fully automatic visual printers with automatic stencil positioning, automatic substrate positioning, and an intelligent closed-loop UVW compensation platform with independent shaft-drive adjustment. UVW compensation is what lets the table correct small positional errors instead of hoping a one-time teach remains true through a run.
Software-controlled squeegee pressure. Pressure that is set by feel, or that drifts as a blade wears, is a common source of insufficient paste on one product and bridging on the next. P5 and P6 list constant squeegee pressure control adjusted through software, with a print-pressure range of 0–20 kg and print speeds of 1–120 mm/sec. Software control matters because you can store a pressure with the product program and repeat it after a changeover.
Board support and clamping. Thin, large or already-bowed boards need support under the print area, not only clamps at the rails. P5 and P6 specify support blocks, support pins and a free-splicing vacuum cavity, plus a flexible side clamp and a Z-direction retractable platen. Vacuum and pin support help the stencil gasket stay closed, which reduces smear, bleed and incomplete transfer. Automatic platform-height calibration to board thickness helps the stencil meet each panel more consistently.
Automatic cleaning. Underside residue is a frequent cause of bridging and smear, especially on close pads. P5 and P6 list an automatic cleaning structure that can combine wet cleaning, dry cleaning and vacuum. The buying point is not the marketing name. It is whether you can set a cleaning interval by board count, choose a wet, dry or vacuum combination for your paste, and show that close-pitch pads stay clean through a production-length run.
Controlled separation. After the stroke, the stencil must leave the board without pulling paste out of the apertures or smearing the deposit. The P5 page lists two demoulding sequences and a speed range of 0.1–20 mm/s. The P6 page lists substrate separation speed of 0.1–20 mm/sec and a separation distance of 0–20 mm. Slow, controlled separation is often what improves release on small apertures; confirm the method and the programmable window on the machine you are quoting.
What a new printer will not fix
A capable printer will not redesign a stencil that cannot release paste, and FAROAD does not sell stencils. It will not rescue paste that is cold, expired or stored incorrectly. It will not flatten a board that has already bowed beyond what support and vacuum can hold. And a printer-mounted 2D inspection option, which the P5 and P6 pages list, is a useful check — it is not a substitute for measuring paste height and volume on a 3D SPI.
If most of your escapes are stencil or paste problems, fix those first, then specify the printer features that keep a good process stable.
Prove the improvement in a print trial
Ask for a wet-print trial on your production stencil, your paste and your most difficult boards — including any thin, large or slightly bowed panels. Agree in advance which defects you will count, how you will measure them, and how many boards constitute a run, not a single golden print.
Look at the first print and at prints after a realistic number of cycles, with the cleaning interval you actually intend to use. If you already run SPI, take volume, height and offset data from the trial, not only photographs. The same trial is also the right place to see how the printer will work with inspection if you plan to buy them together.
Frequently asked questions
Is insufficient paste always a printer problem? No. Clogged or poorly releasing apertures and paste condition cause many short prints. Check the stencil and paste first, then look at pressure, support and separation.
Will a tighter accuracy figure stop bridging? Not by itself. Bridging more often comes from excess paste, a dirty stencil underside or a poor gasket. Cleaning, support and pressure control usually matter more than a tighter accuracy claim.
Do I need vacuum support on every board? No. Rigid, well-tooled boards may run well on blocks and pins. Thin or large panels, and boards that already bow, are where a vacuum cavity earns its place.
Can automatic cleaning replace stencil maintenance? No. Automatic wet, dry or vacuum wiping keeps the underside usable during a run. Worn stencils, damaged apertures and exhausted wiping consumables still need a maintenance plan.
Request a print-quality review
Send FAROAD your panel size, stencil data, paste type and the print defects you need to reduce. We will map those defects to a P-series configuration and a print trial you can judge. Request a quote to start that review.